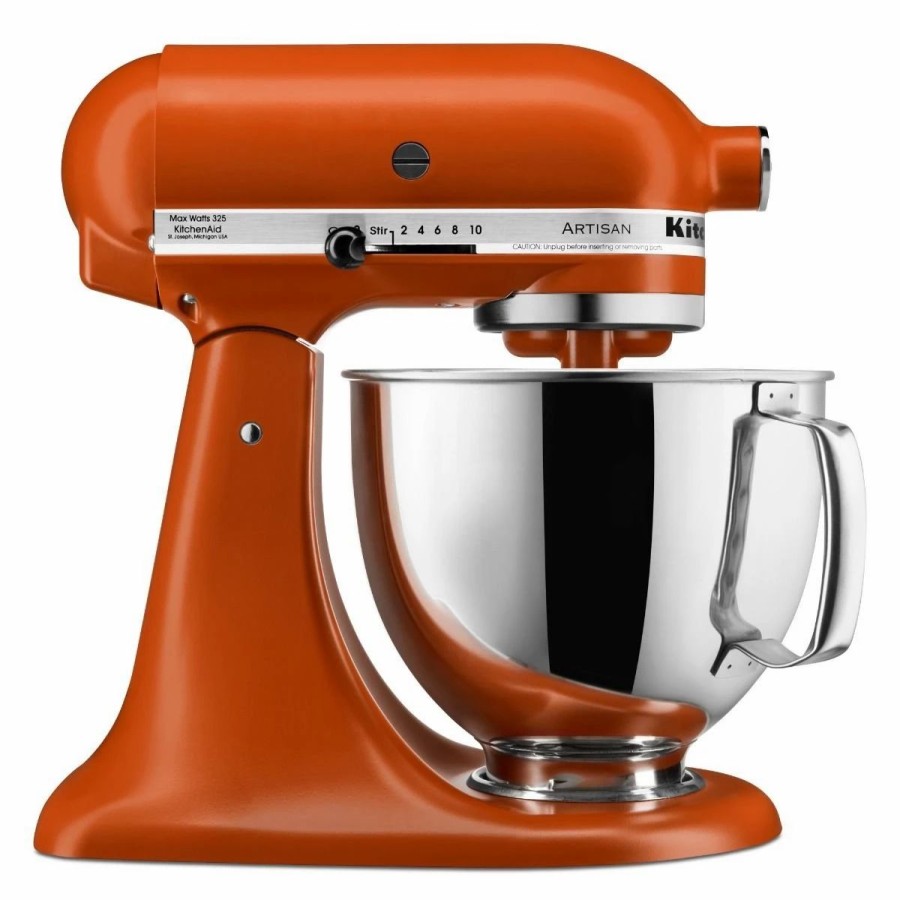
Small Appliances * | Kitchenaid 5-Quart Artisan Tilt-Head Stand Mixer | Scorched Orange
$122.81 $92.11
Small Appliances * | Kitchenaid 5-Quart Artisan Tilt-Head Stand Mixer | Scorched Orange

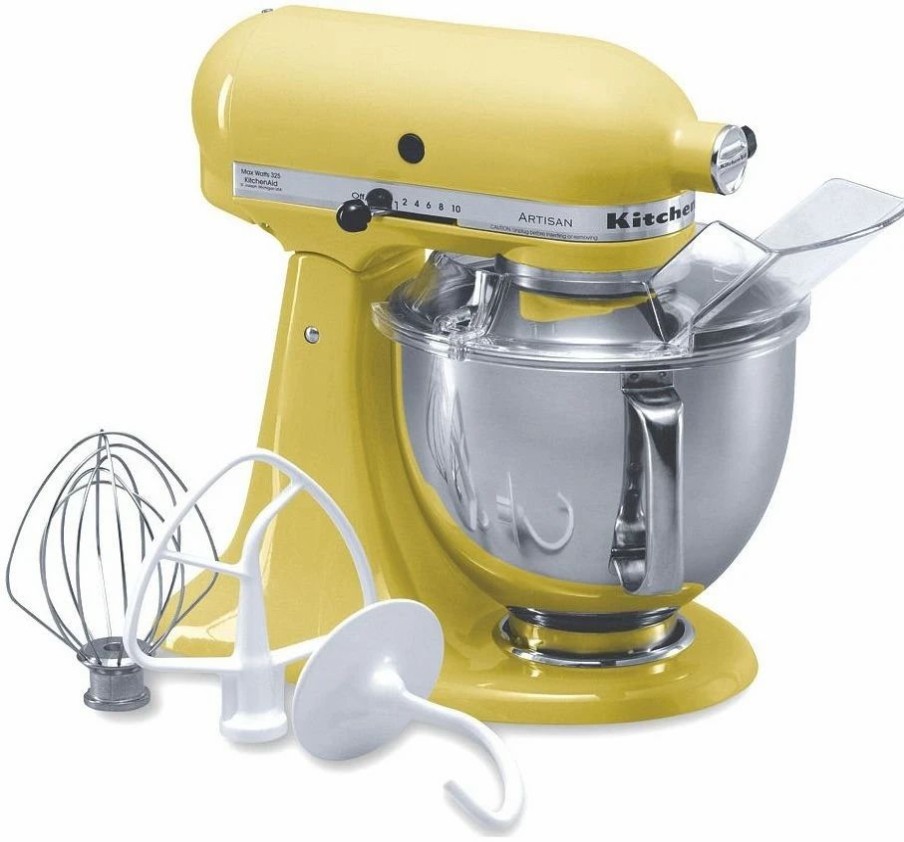
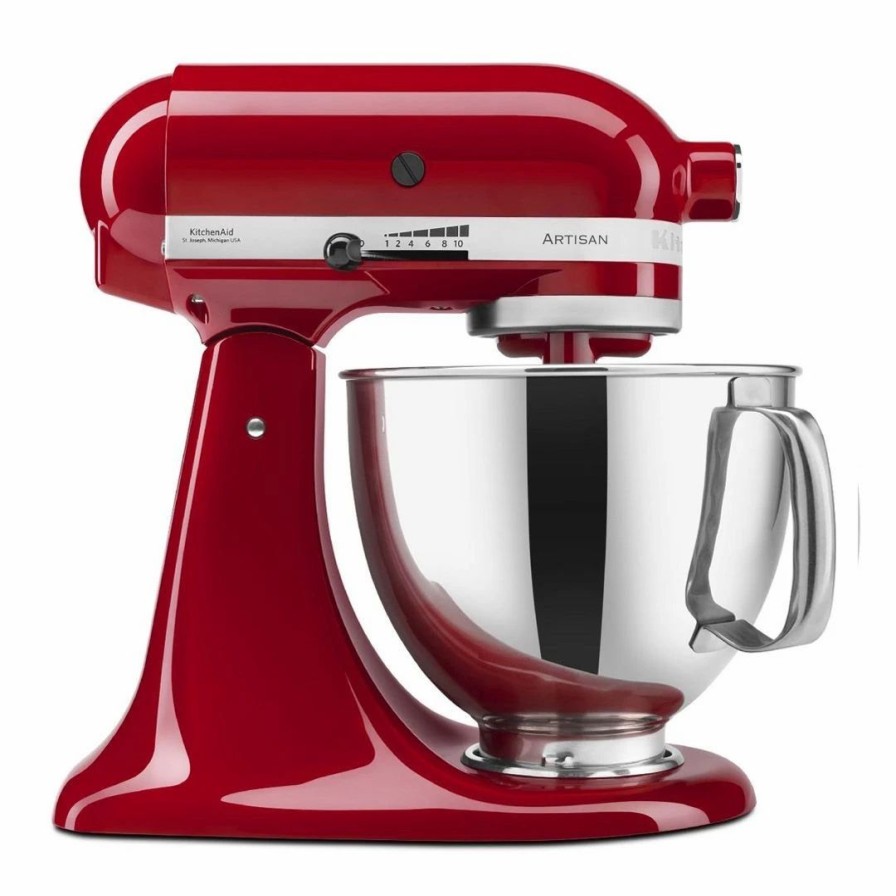
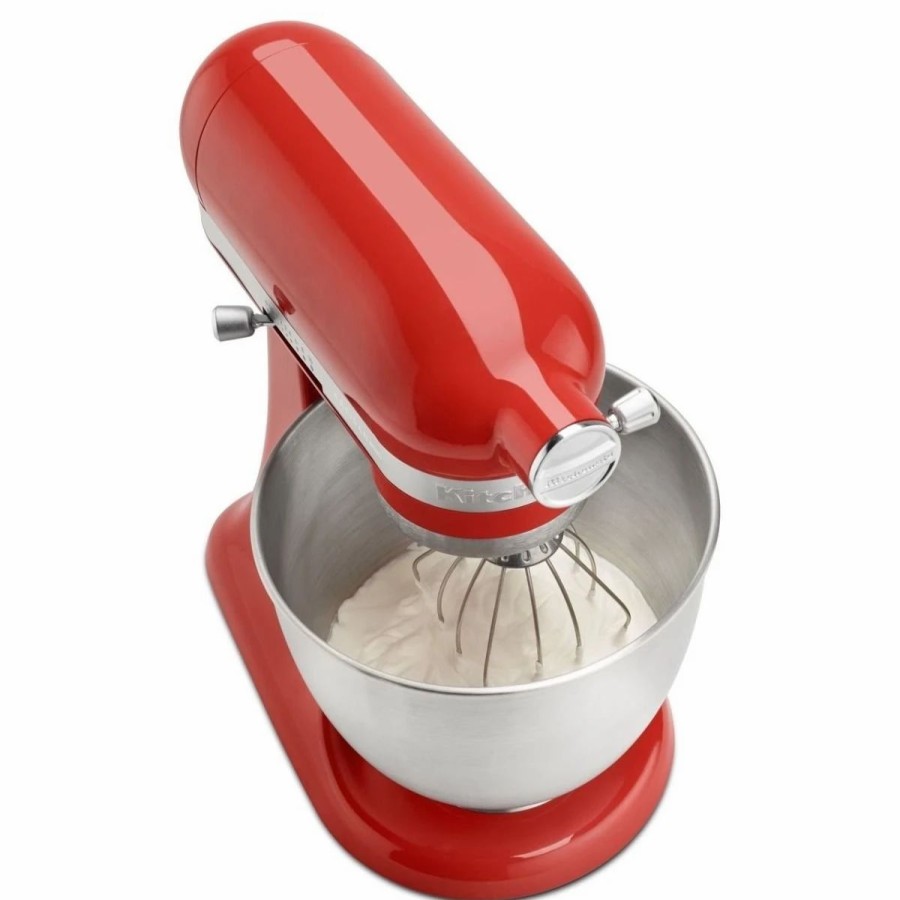
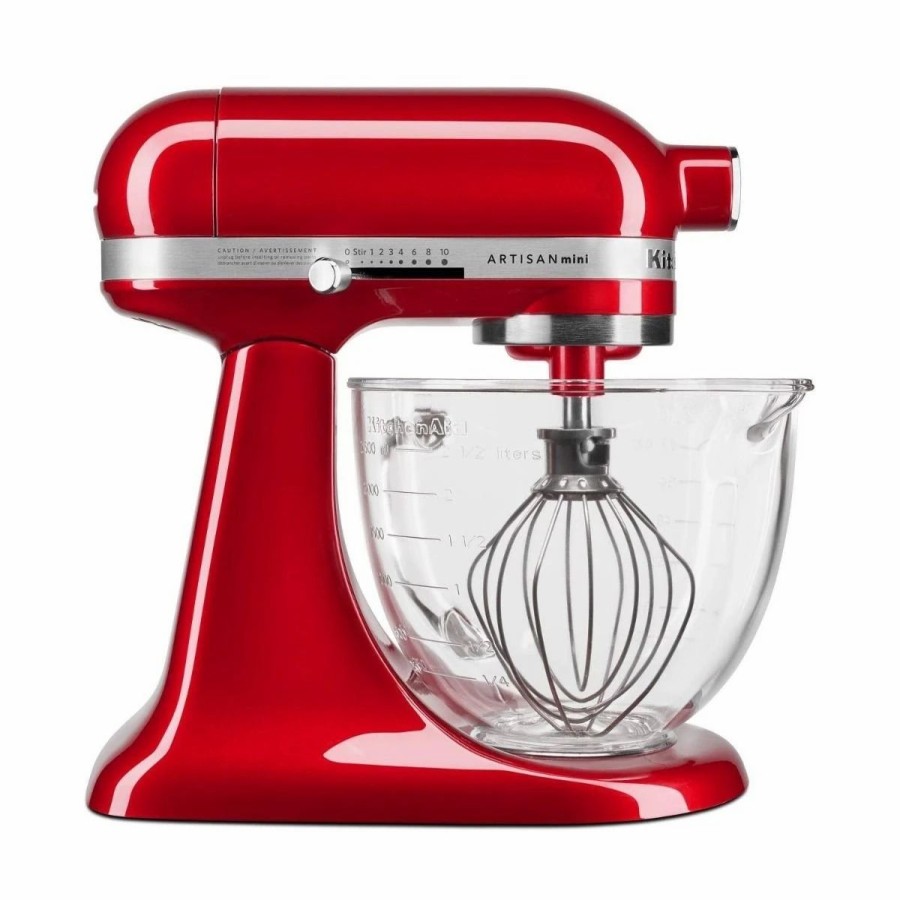
Become A Holiday-Baking Mvp With Kitchenaid’S Artisan Stand Mixer! This Mixer Features A 325 Watt Motor That Breezes Through Large Batches Of Bread & Pastry Dough, Devil’S Food Cake, Sugar Cookies, Mashed Potatoes, And Other Tricky Recipes. The 10-Speed Controls Accommodate A Variety Of Textures For Smooth Gelato Or Chunky Salsa.
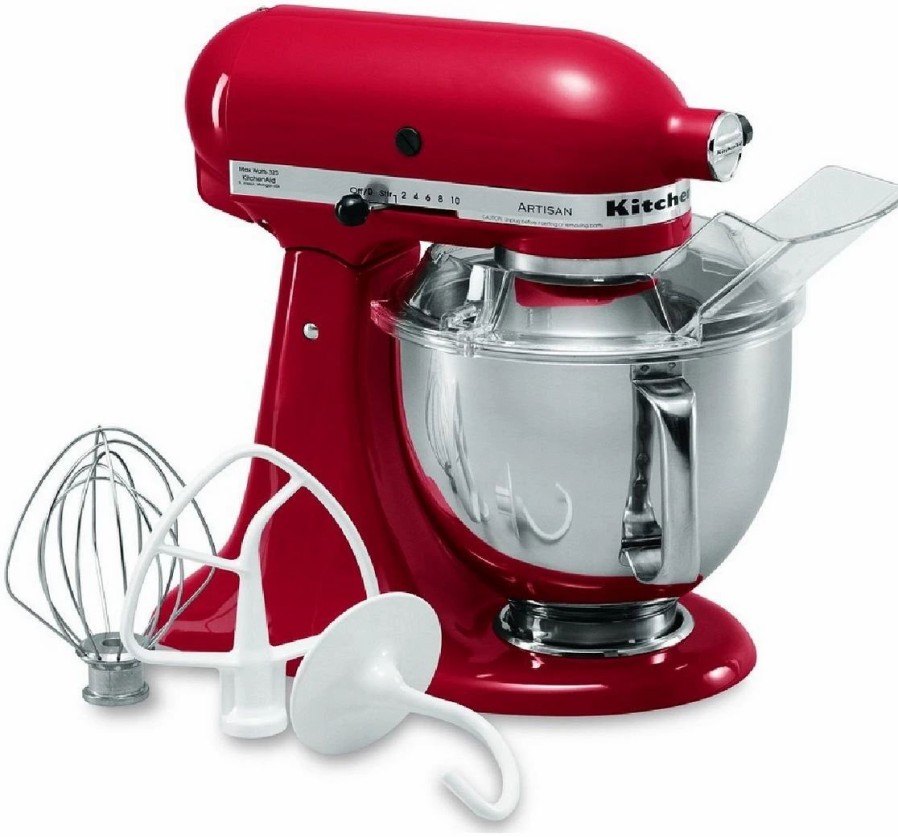
Included With The Mixer Are Four Accessories. The Flat Beater Is Ideal For Mashing Potatoes Or Mixing Cake Batter. The Dough Hook Saves Time By Replacing The Need For Hand-Kneading Cookie Doughs And Bread Yeast. The Wire Whip Is A Classical Attachment That Mixes Standard Ingredients Such As Eggs, Flour, Sugar, And Other Staples. Reduce The Mess Of Splatters And Spills With Kitchenaid’S Pouring Shield!
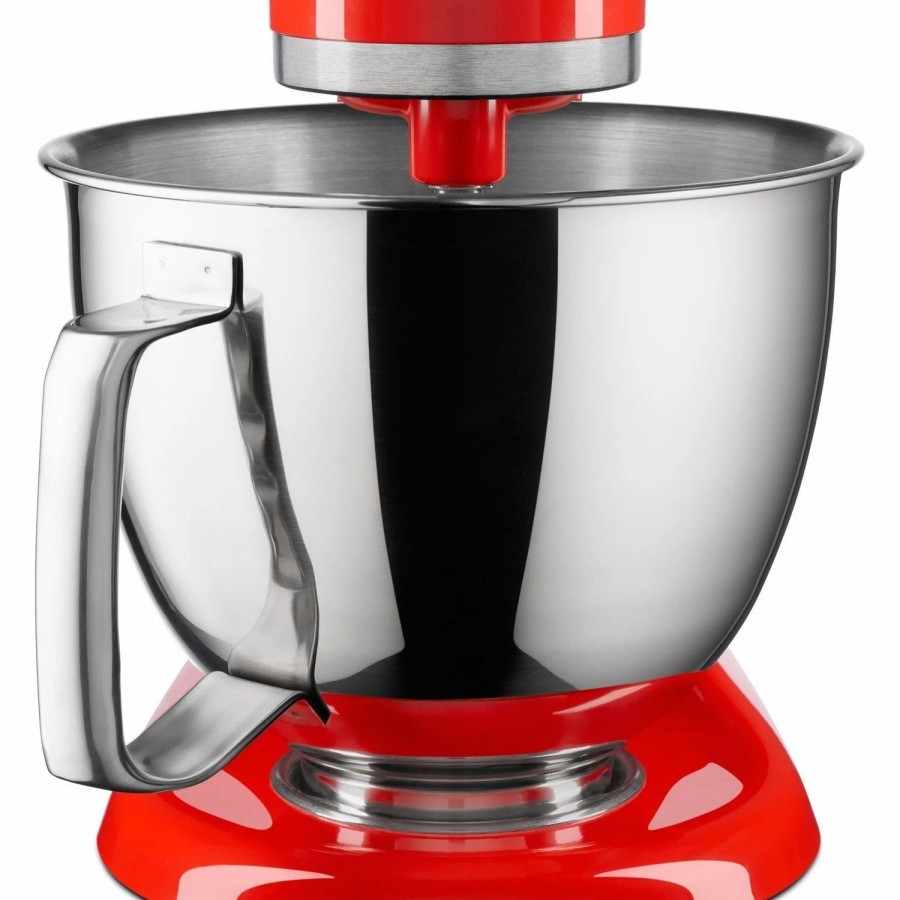
With A Bold Scorched Orange Finish And Immaculate Stainless Steel Mixing Bowl, Kitchenaid’S 5 Quart Artisan Stand Mixer Is A Great Time-Saver That Will Look Charming For Counter Display.
Click Here For A Kitchenaid Stand Mixer Recipe
Kitchenaid 5 Quart Artisan Stand Mixer (Scorched Orange) Features:
- Tilt-Up Head
- 325 Watt Motor
- 10-Speed Solid-State Control
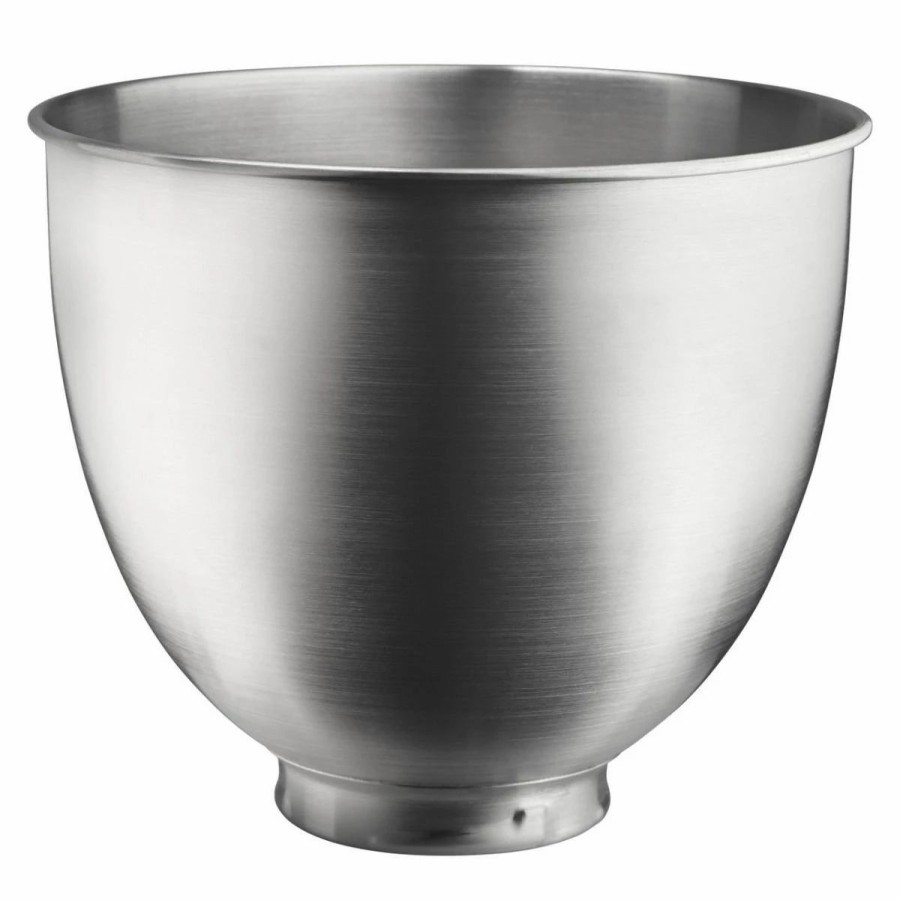
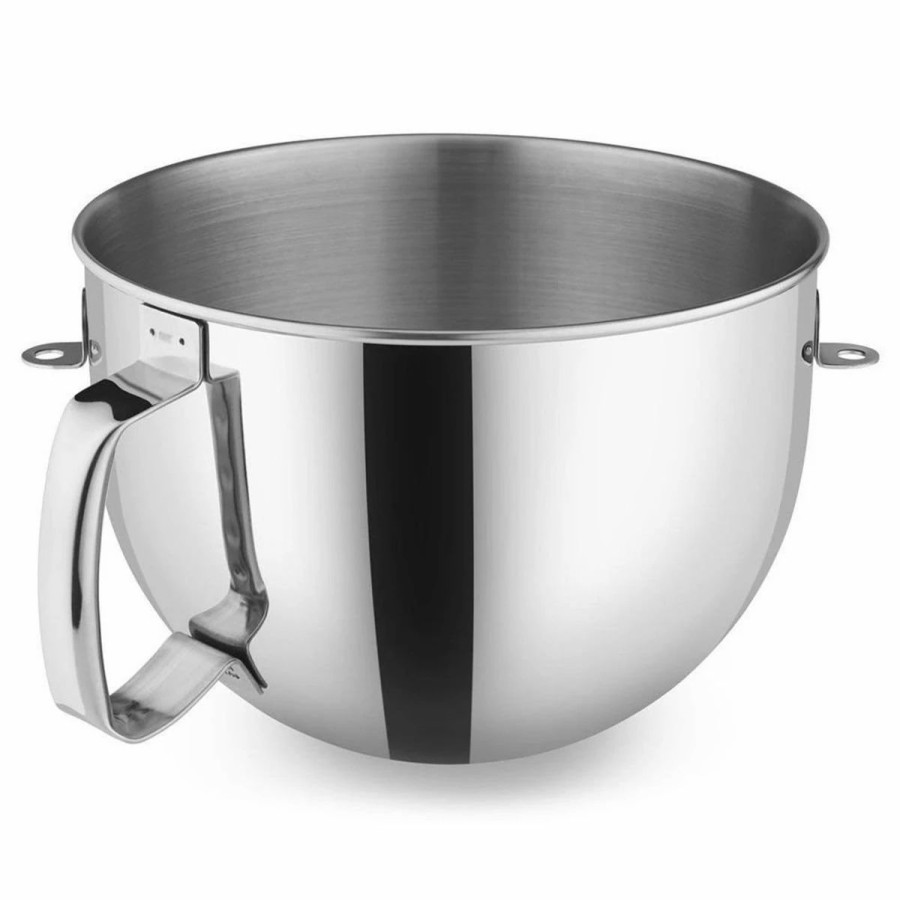
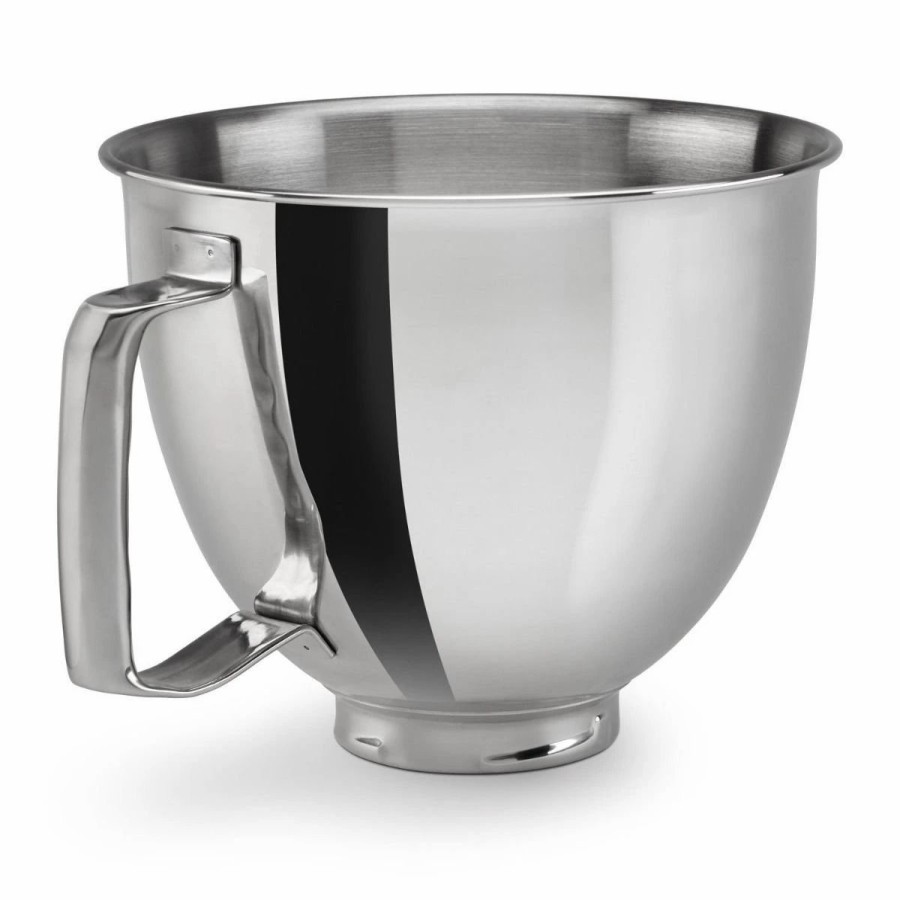
- 5 Quart Stainless Steel Bowl With Handle
- Includes: Coated Flat Beater, Coated Dough Hook, & Wire Whip
- Also Includes Pouring Shield For Mess-Free Mixing
- Power Hub For Additional Attachments
- Unique Mixing Action
- Engineered, Designed & Assembled With Pride In The Usa
- Works With All Kitchenaid Attachments
- Item # Ksm150Pssc
- 120 Voltage
- Click Here To Learn How To Remove The Polishing Residue From The Stainless Bowl Before First Use
Dimensions:
- Approximate Dimensions 14 1/2 H X 14 D X 8 1/2W
- Approximately 17 3/4 H With The Head Tilted Back
Fudge Brownie Mudslide Ice Cream Cake
Featuring The Kitchenaid Mixer
By Lindsay Landis
Brownie Ingredients
- 12 Ounces Semisweet Chocolate Chips
- 1 1/2 Cups (3 Sticks) Unsalted Butter, Room Temperature
- 2 Cups Granulated Sugar
- 4 Large Eggs
- 1 Teaspoon Vanilla Extract
- 1 Cup (4.5 Ounces) All-Purpose Flour
- 1 Cup (1.5 Ounces) Dark Or Dutch Process Cocoa Powder
- 1 Teaspoon Instant Espresso Powder
- 1 Teaspoon Baking Powder
- 1/2 Teaspoon Fine Sea Salt Or Kosher Salt
Ice Cream Ingredients
- 2 Cups Heavy Cream
- 1/2 Cup Whole Coffee Beans
- 1 (14 Oz) Can Sweetened Condensed Milk
- 1/2 Cup Chocolate Covered Coffee Beans, Chopped
For Assembly
- 1/2 Cup Hot Fudge Sauce, Slightly Warmed
- Chocolate Covered Coffee Beans, As Desired For Decoration
Directions
Preheat Your Oven To 350 F. Meanwhile, Line A Half Sheet Pan With Parchment Paper And Lightly Butter.
To Make The Brownie, Begin By Gently Melting Chocolate Until Smooth In A Double Boiler Or In The Microwave On Low Power. Set Aside To Cool Slightly.
In The Bowl Of Your Kitchenaid Stand Mixer Fitted With The Flat Beater, Beat The Butter And Sugar On Medium-High Speed (4 Or 6) For 2-3 Minutes, Or Until Light And Fluffy. Add The Eggs, One At A Time, Beating Well After Each Addition. Increase The Speed To High (8 Or 10) And Beat For Another 2-3 Minutes, Or Until Fluffy. Then, Mix In The Vanilla.
In A Separate Bowl, Sift Together The Flour, Cocoa Powder, Espresso Powder, Baking Powder, And Salt. Set Aside The Dry Ingredients.
Remove The Bowl From Your Stand Mixer And Fold In The Melted Chocolate With A Large Rubber Spatula. Then, Sprinkle The Dry Ingredients Into The Bowl And Fold Until Just Incorporated. Spread Into An Even Layer On Your Prepared Half Sheet Pan And Bake For 17 To 19 Minutes, Or Until A Toothpick Inserted Near The Center Comes Out Clean. Place The Half Sheet Pan On A Wire Rack To Cool Completely, Then Refrigerate For At Least 30 Minutes (Or More) To Make The Brownie Easier To Work With In The Assembly Phase.
To Make The Ice Cream, Heat Cream And Coffee Beans In A 3Qt Saucepan Over Medium Heat Until It Just Starts To Simmer And Steam. Remove From Heat, Cover, And Let Steep For 30 Minutes. Strain Out The Coffee Beans And Refrigerate The Cream Until Completely Chilled, At Least 2 Hours. Chilling The Cream Ensures That It Will Make A Firm Whipped Cream In The Next Step.
When Completely Chilled, Pour The Cream In To The Bowl Of Your Stand Mixer Fitted With The Whisk. Turn On Mixer To Medium-High Speed (4 Or 6) And Whisk Until The Cream Forms Stiff Peaks.
In A Separate Bowl, Pour In Your Can Of Sweetened Condensed Milk. Then, Spoon In About 1/3 Of The Whipped Cream, And Fold To Lighten Up The Mixture. Add The Remaining Whipped Cream And Fold Until Evenly Incorporated And No Streaks Of Bright White Remain. Finally, Fold In The Chopped Chocolate Covered Coffee Beans.
To Assemble The Cake, Springform Pans Work Best Because You Can Detach The Sides. Using The Bottom Of The Pan As A Template, Trace And Cut Out Two Rounds From The Brownie In Your Half Sheet Pan With A Butter Knife. Use A Spatula To Remove Excess Brownie And Set Aside. Latch The Sides Of The Springform Pan Back Into Place. With An Extra Large Spatula, Carefully Lift One Of The Brownie Rounds And Place Into The Bottom Of Springform Pan, Pressing Down The Edges Into An Even Layer. Spread Half Of Ice Cream Mixture Evenly On Top Of Brownie. Drizzle With About 1/3 Cup Of Fudge Sauce. Repeat With The Second Brownie Round, Followed By Remaining Ice Cream Mixture.
Cut The Brownie Scraps Leftover From Making The Rounds Into Evenly Sized Squares, And Pile On Top Of The Assembled Cake In A Decorative Manner, Scattering A Few Chocolate Covered Espresso Beans On Top As Well, If Desired. Drizzle With Remaining Fudge Sauce. Place The Assembled Cake Into Refrigerator And Freeze Until Completely Firm, At Least 4 Hours Or Overnight.
To Serve, Remove The Cake From Freezer And Release Sides Of Springform Pan To Leave Behind Clean Layers. Use A Large Knife To Slice Into Wedges And Serve Immediately. Return Any Leftover Cake To Freezer To Enjoy Later.

Reviews
There are no reviews yet.